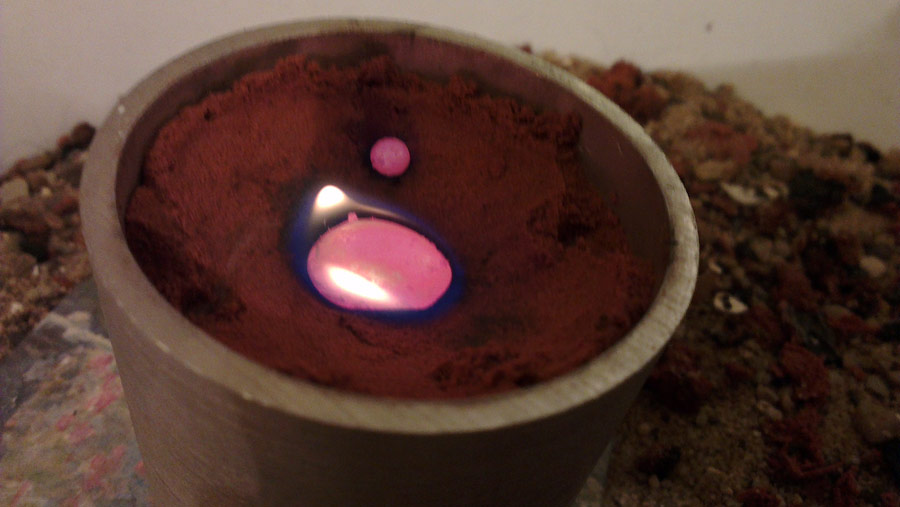
Delft Casting is a great way to cast pieces with very little cost and very little equipment. It’s a firm favourite of mine and is very rewarding when it works. Those of you who attended the casting course at The Brewery Arts Centre will know how tricky it can be and it really is a case of practicing to get your success rate up.
Key things I learned using the Delft Casting Technique:
- Chop the clay up well, to loosen it all before adding it to the mould rings.
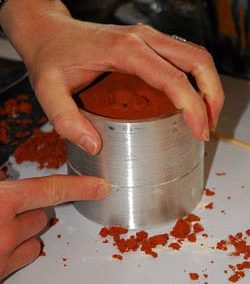
- Compact the delft clay firmly in the mould so that it takes a good impression but not so much that becomes hard to press your source piece in.
- Don’t forget your release powder in between the two layers. An easy one to forget.
- Sculpt the pour hole and think of water flowing. Make holes bigger, shape the funnel nicely. Reduce all areas of friction that might slow the silver down as it enters the hollow within the mould.
- The exact position of the pour whole is a bit of experimentation.
- Your vent holes become more intuitive with experience. Add one to all points furthest away from the pour hole – on all deadends. Any unvented deadends may block the flow of silver.
- It’s not uncommon to have silver come up your vent holes.
- Make sure your ring marks on either side of the mould line up!
- It takes longer than you think.
- Your success rate improves with practice but some pours will just fail. If they do, start again and try enlarging the pour hole and improving vents.
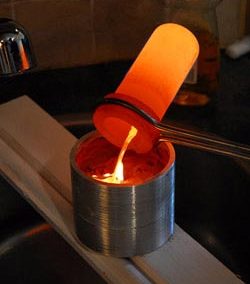
- Get the molten silver poured as quickly as possible. From the moment it leaves the crucible, it is cooling.
- Practice your pour as a dry run, much like a golfer practices before taking the shot. It can highlight an awkward wrist angle or obstacle.
- Always be safe about it. At these temperatures, any accident will happen in milliseconds.
-

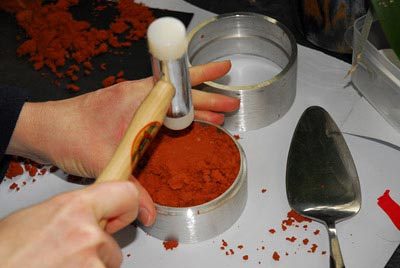
First we placed our bottom ring into a flat surface, in this case a piece of scrap vinyl. Next we filled the ring with clay.
-

Then we packed it down with a plastic mallet. The mallet is light and doesn't damage the rim of the casting ring if we accidentally hit it. Pack it to level with the top of the ring.
-

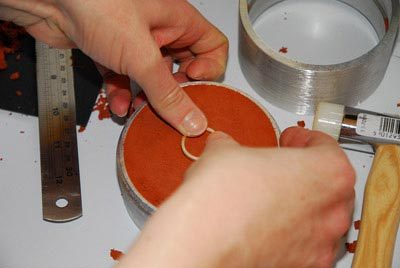
We then pressed the ring shank we wanted to cast halfway into the clay.
-

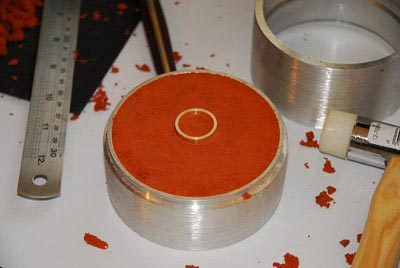
Here is the ring set in the bottom layer.
-

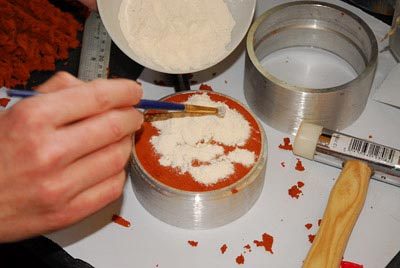
Adding talcum powder as a release agent. Flour can be used too. The silver ring or item to be moulded stays where it was pressed.
-

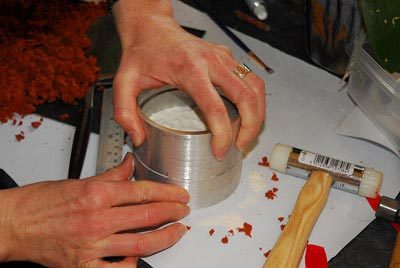
The top ring of the mould is now added.
-

Be sure to line up the two marks.
-

Add more clay.
-

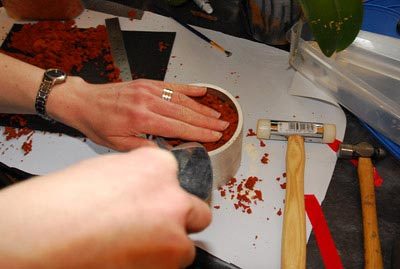
Hammer the clay in the mould to esure a clean impression.
-

Carefully pull the mould apart. Remove the master.
-

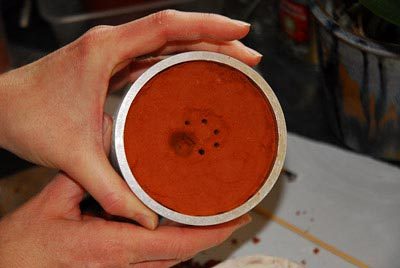
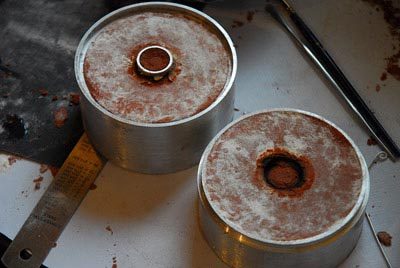
Make a pour hold and then add breather holes.
-

Be sure to line up the two marks before pouring.
-

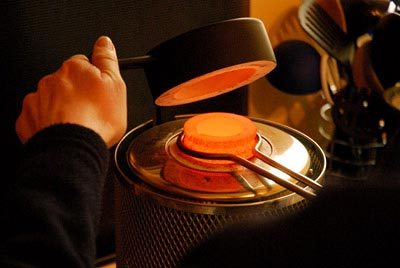
Wait until silver is up to temperature. No peeking.
-

The Pour. Carefully but quickly pour all the silver into the hole.
-

Wait for a bit, things will smell of burning. Don't worry. Open the mould being careful of the heat.
-

Your cast ring is ready for cleaning up.
Andrew Berry, from At The Bench, has a wonderful series on the Delft casting technique:
Remember, when using Delft casting, it is better to have a little more material on the final cast piece of jewellery as it’s easier to remove silver than put it back on if too thin in places.

